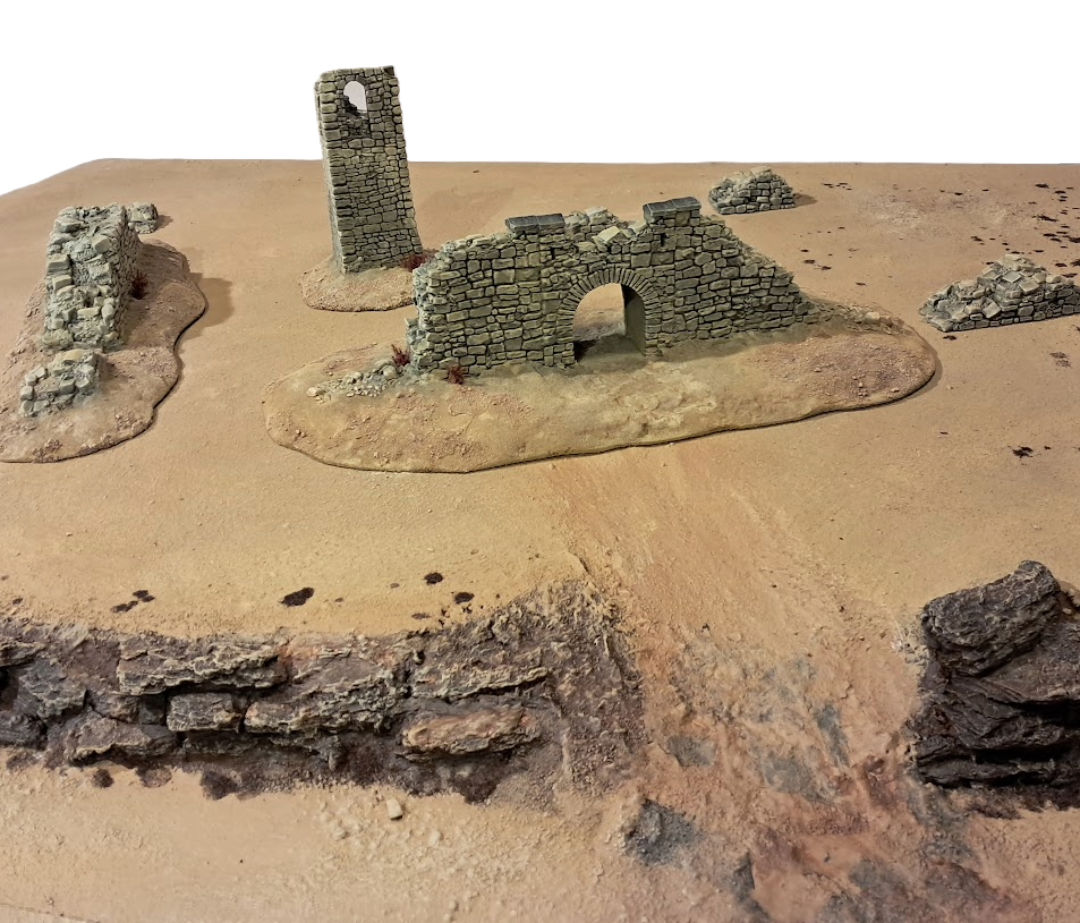
The best part of playing wargaming campaigns is that it always creates a need for some specific terrain pieces. In this case I wanted to make a set of desert ruins usable for a Chain of Command campaign that takes place in the North African desert. In the campaign Fort Hackubar, I imagine it is a ruined garrison that dates back from around the times of the crusades, after which it may have been used by serveral nations such as the colonial French or the Ottoman empire. Importantly, I wanted it to be generic enough so that it could be used in serval types of games, from fantasy to historic settings. I briefly thought about scratch building it in foam but quickly found myself scouring the web for 3d printable ruins. I found a set of ruined norman fort walls from printablescenery.com that I found generic enough to form the base of my ruins.
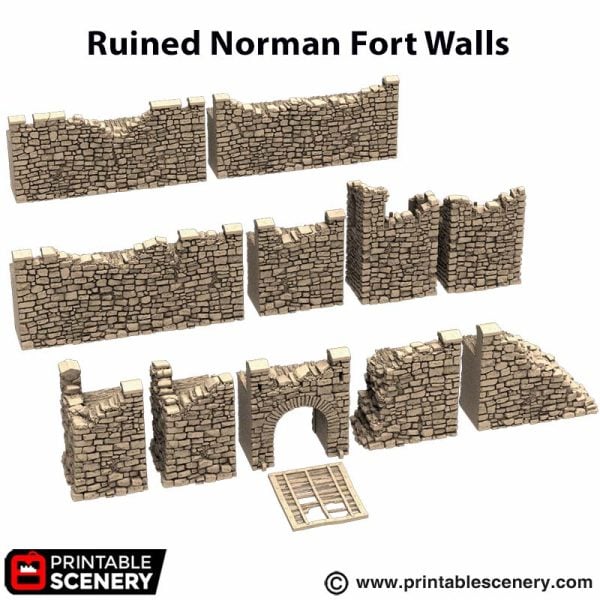
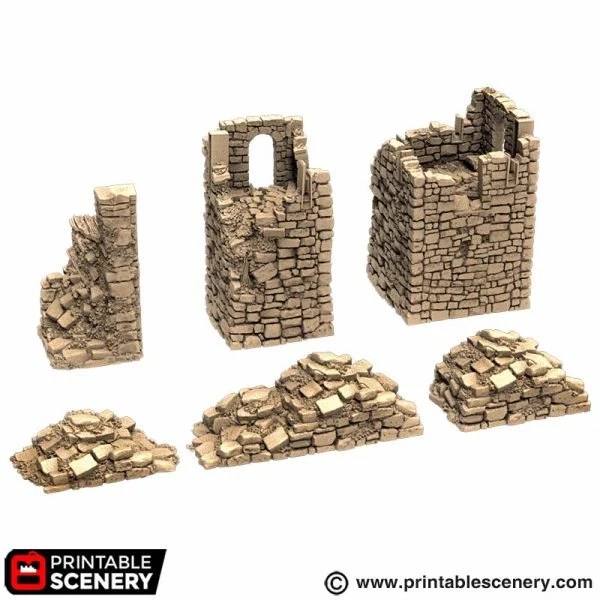
The set consists of several wall sections, but also includes a small tower and some loose rubble that are very handy for scatter terrain. I used a Bambu Lab A1 printer and used 0.18 mm layer height.
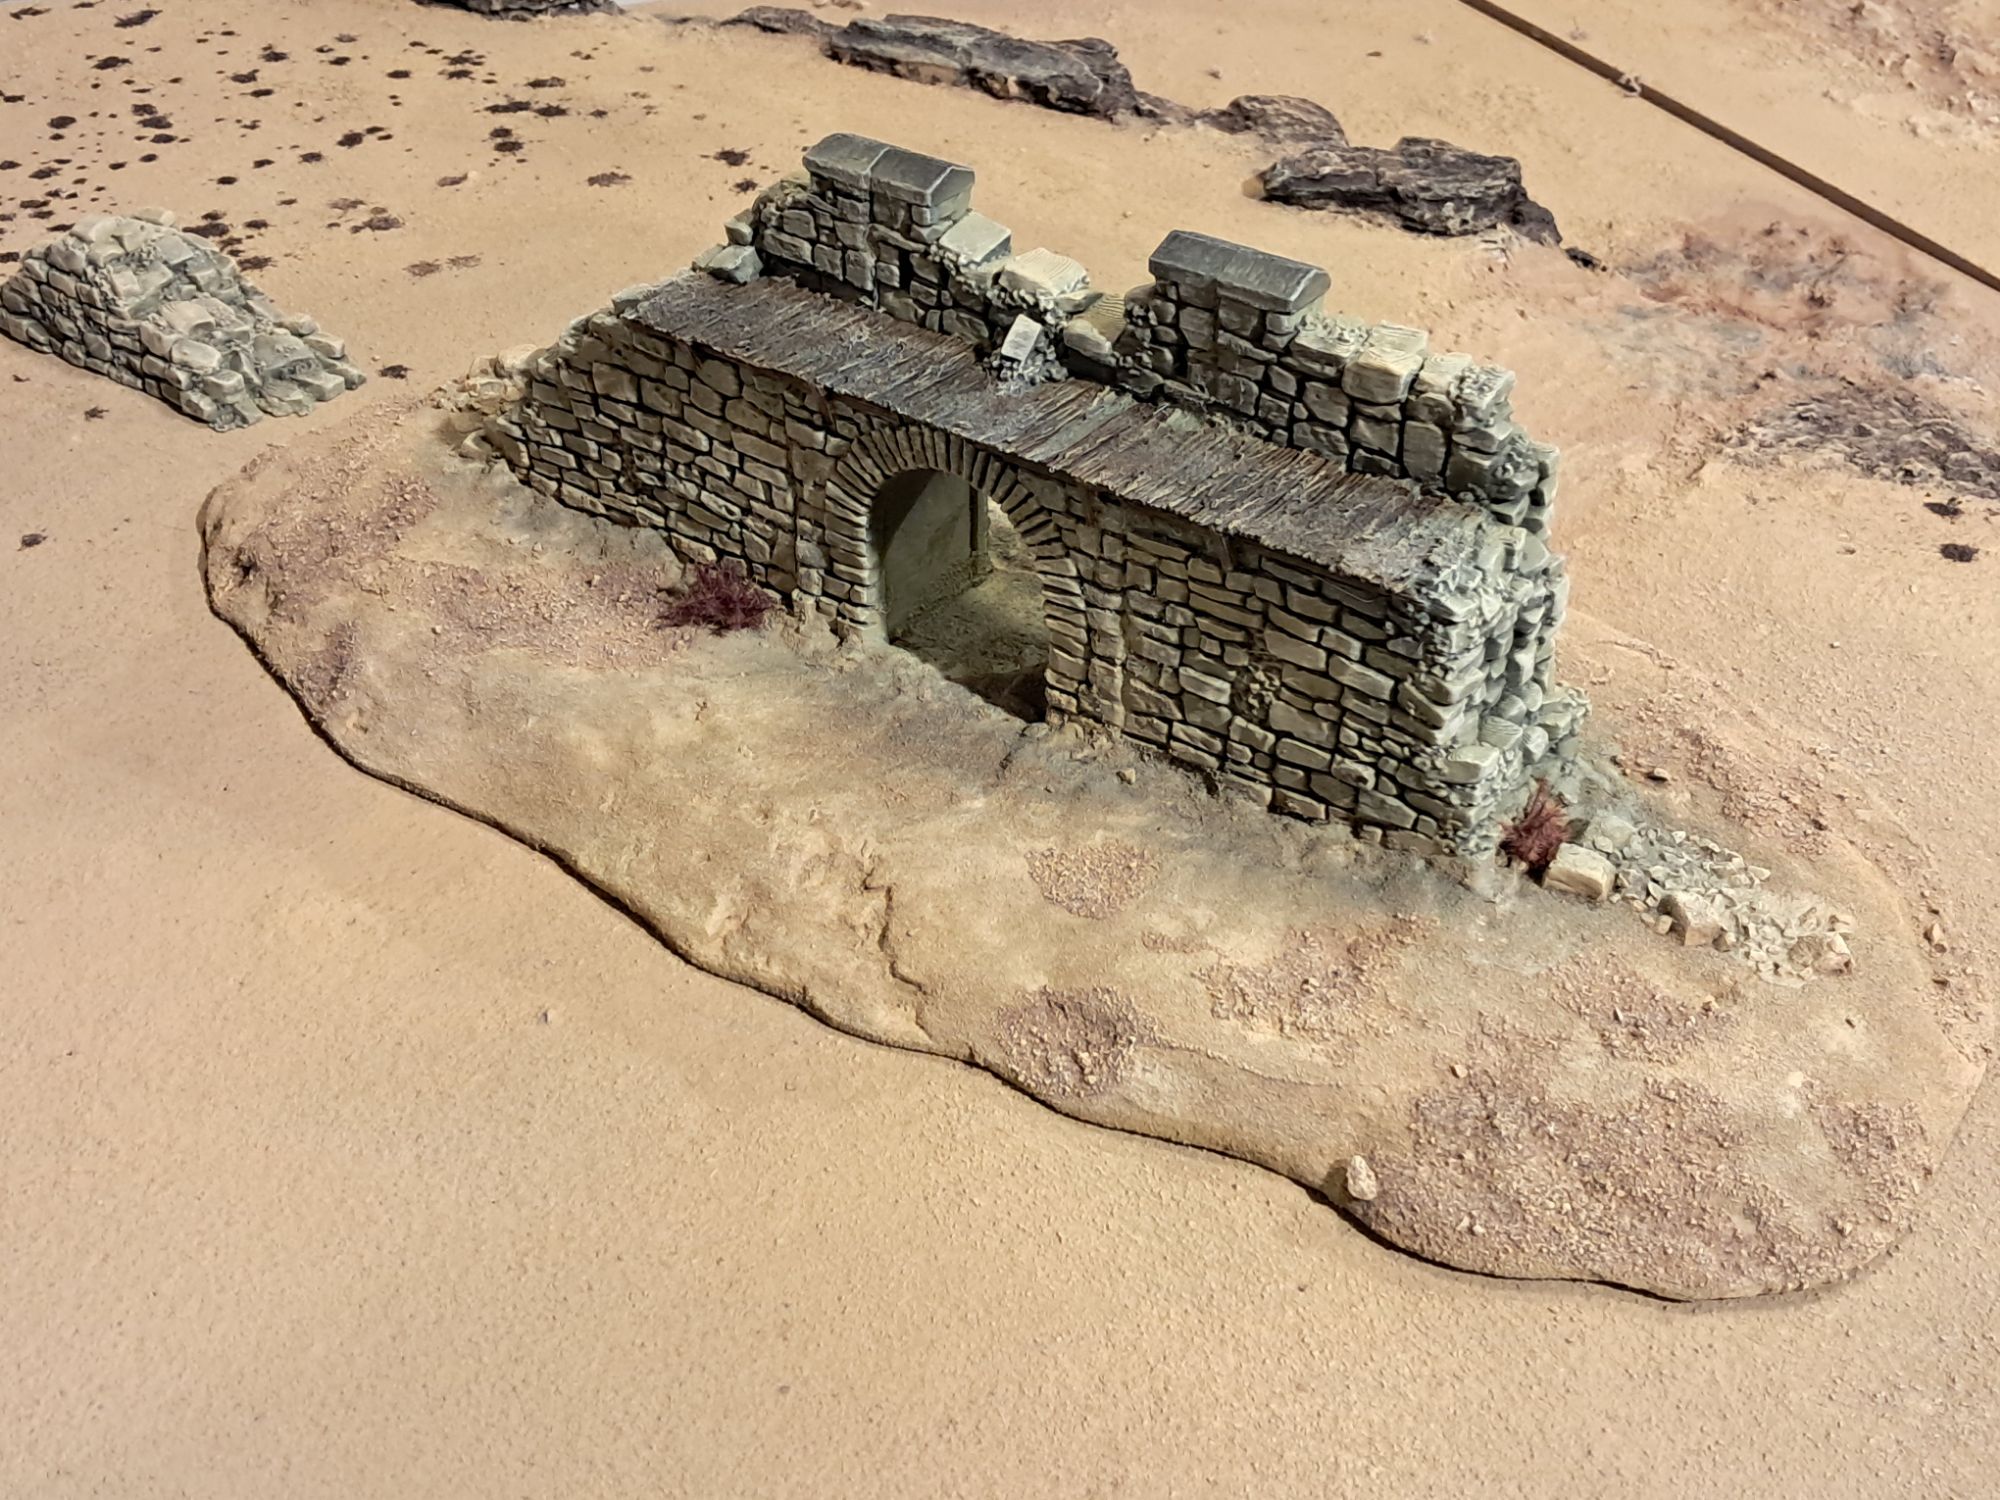
Basing and filling
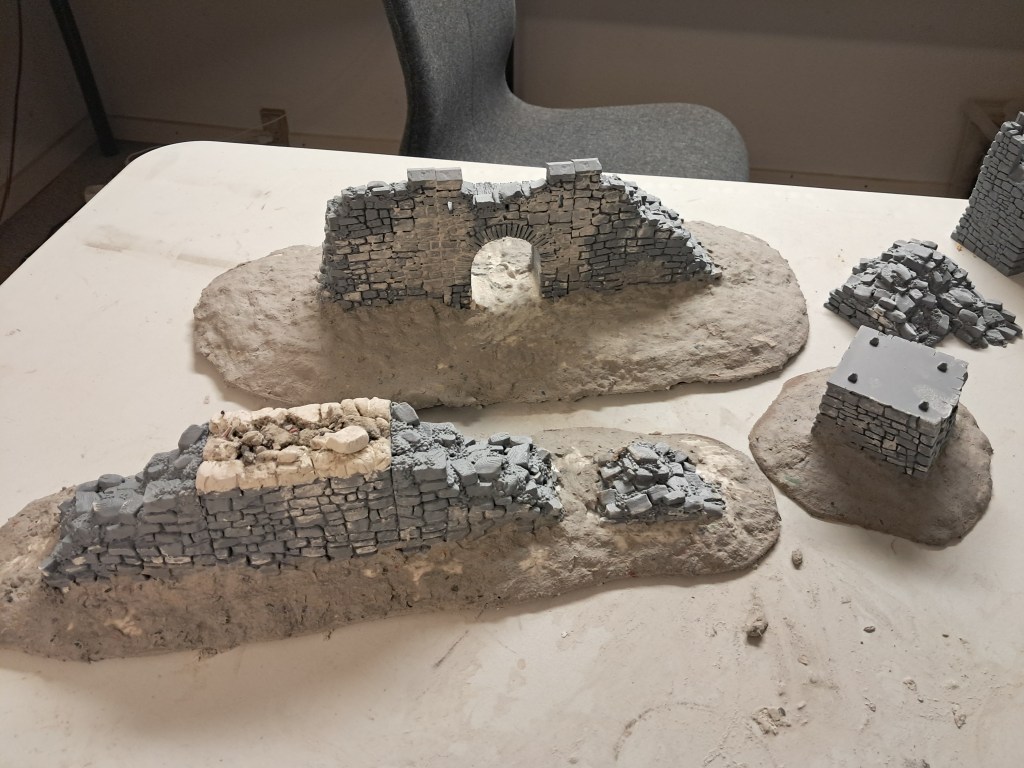
I decided to glue the pieces together and base them on a piece of 3mm mdf board with added eps foam to create a smooth and natural transition into the surrounding terrain. I think most terrain pieces look better based, except for smaller pieces of scatter terrain. All the wall sections have a bit of wooden flooring and I wanted it to look even more ruined. Quite possibly local farmers would pillage the ruins, using the stones in walls or as road fill, so there really shouldn’t be much left in most places. To create a collapsed wall I used a part of the 3d files that is meant to be a foundation and it has a flat top, where you can stack a second wall on top of. Thus, I had to do a bit of work to create a natural looking top. For this I used DAS clay, which is a sculpting clay that dries in room temperature overnight, but you could use Milliput or similar.
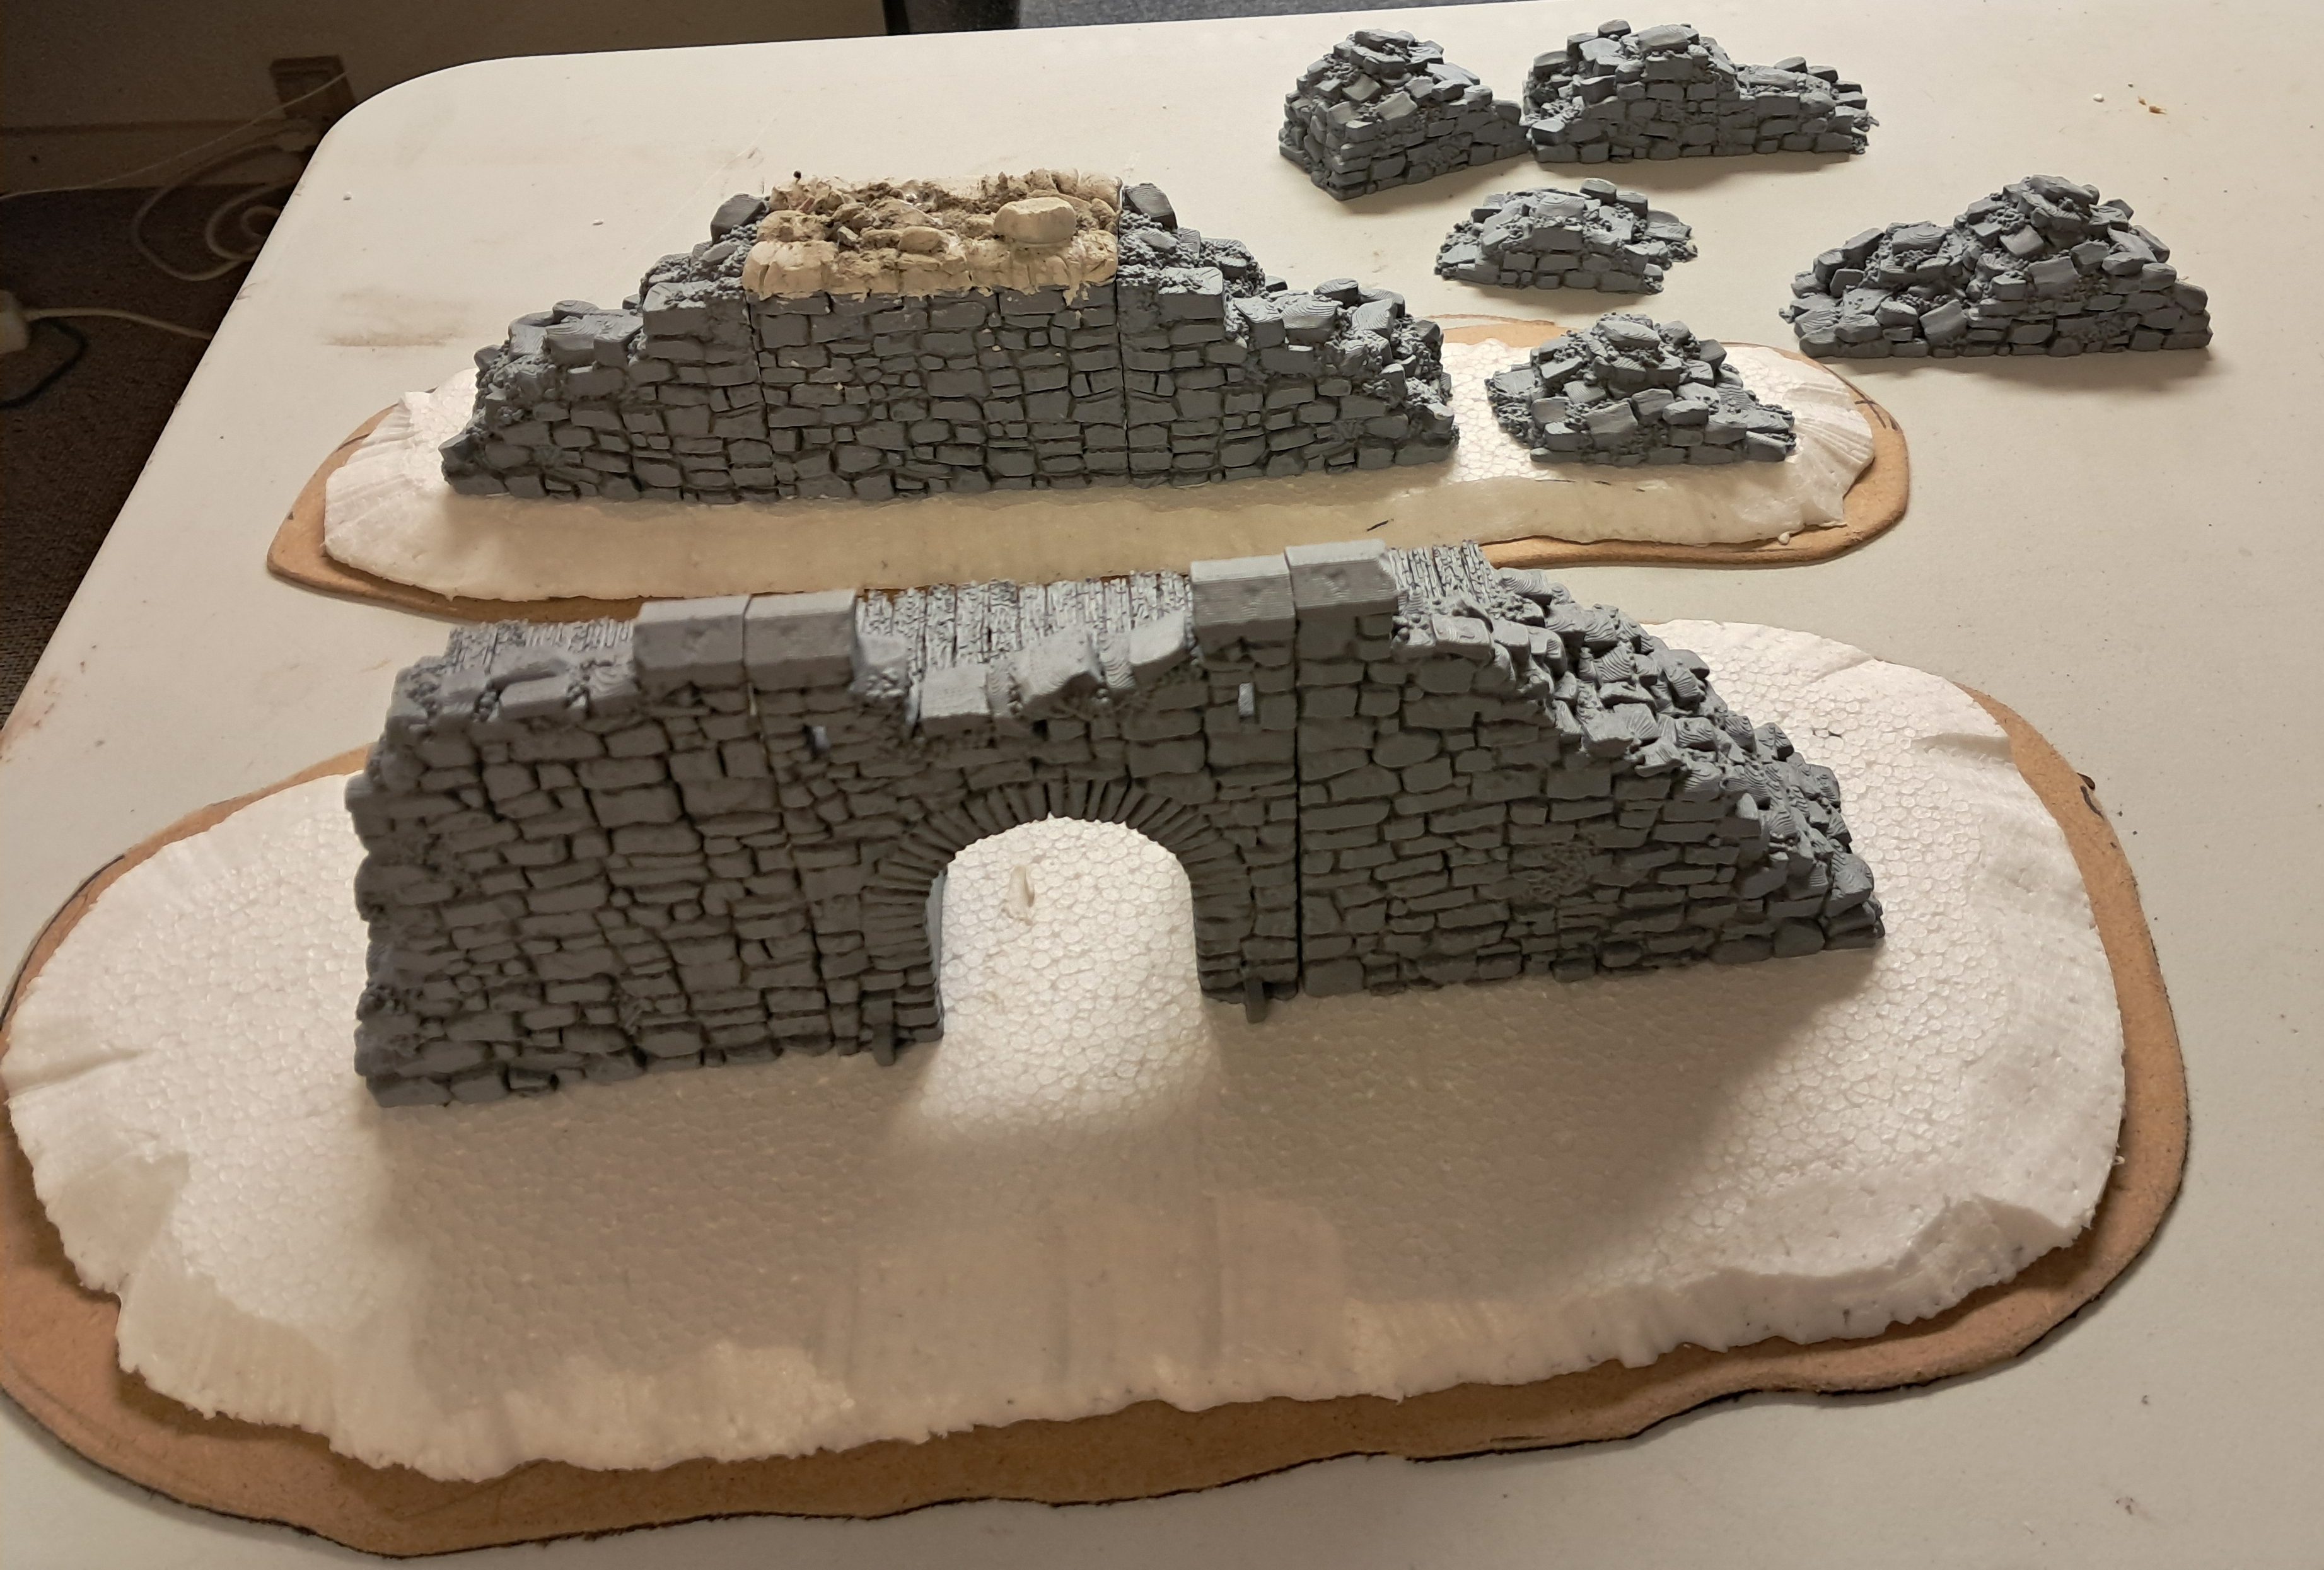
For the basing I decided to use a new favorite mixture of mine. It is basically a form of DIY Sculptamold. It consists of cheap hobby casting plaster mixed with granulated paper based insulation, the kind of stuff you use to insulate walls and roofs. The ratio of mixture is roughly based on volume 2 cups of paper insulation, plus one cup of plaster. Shake it together while dry, then add water (about 1/10 part water). You then have about 5-10 minutes to sculpt and shake the mix before it sets, but you have to wait some hours for it to dry completely and best leave it overnight before you start adding paint. Because it contains relatively large amount of plaster the finished pieces can be quite heavy. Overall I like my terrain parts to have enough weight so that they don’t get accidently pushed around on the battlefield, but if you intend to build large rock formations or board sections, you should consider using foam as much as possible. I also used the mixture to fill the gaps between the individual wall parts to create a smoother transition.
Flock and paint
I added PVA glue and sprinkled a mix of fine sand and smaller rocks to the ground sections as well as on parts of the walls.
The walls where primed in black then oversprayed with a grey primer to create a zenithal effect. The ground parts were primed with a desert yellow. At this stage it doesn’t really matter what precise color or brand you use. The reason that I zenithal highlight is just to get a better image of how I want the finished piece to look and guide my airbrushing, which is next. I used an airbrush for the base colors, using a mixture of Vallejo Desert Tan 73.613 and German Dark Yellow 73.604, both are primers so they cover really well, but was careful to always spray from above, leaving the deeper recesses black. The next few parts are a bit of a slur as I did them over several days, but basically I used a very large drybrush and cheap acrylic hobby craft paint in brown and sand colors. After the first initital drybrush sessions, I gave all the brick parts a black oil wash (oil paint thinned with mineral spirits), then did the final drybrusing highlights using gradually brighter and brighter tones.
It is important to create sections of stones that have a slightly different color than other parts. Some parts of the walls will be more exposed to the weather and stones will age differently across the structure. I also pick out a couple of indivdual stones that are given a wash in darker or other tones such as grey, yellow, brownish and even green tones, to create that natural random look of stone. This is clearly visible on the top parts of the crenellations on the wall sections, that I imagine are of a different quality of stone.
The finished ruins
Overall, I am happy with the results. I went back and fourth a couple of times, adding additional sand and gravel to the base as the initial layer of sand was too fine and didn’t create enough texture.